Overview
The all-in-one installer is nearly all you need to go from nothing to a fully functioning Dime.Scheduler environment. It also takes on the deployment of Azure resources so you can host the application in the cloud.
📖 Want to dive in headfirst? Proceed to the tutorial.
Prerequisites
There are only a few things that are required to run the installer successfully. Carefully read the instructions as specified here. If you are doing an update of Dime.Scheduler, it is of utmost importance to follow the instructions in the upgrade guides.
Limitations and known issues
- The installer currently does not validate whether a resource or deployment option (such as SKUs, image size, edition) is available in the selected region. Please consult Azure's own documentation to find the right options for you and your customer.
- The configuration files are stored in plain text. This includes passwords and other sensitive information.
Quick start
Deploy Azure resources
Install Dime.Scheduler
Install back office
Install Exchange connector
Configure Dime.Scheduler
Overview
The Dime.Scheduler installer is a small, self-contained desktop application that is capable of deploying all the resources that Dime.Scheduler needs on Azure, and to install Dime.Scheduler subsequently. It is little more than a graphical wrapper around a series of scripts that do the heavy lifting. This design provides enough wiggle room to customize the installation procedure.
This is the view that awaits you when you start up the program:
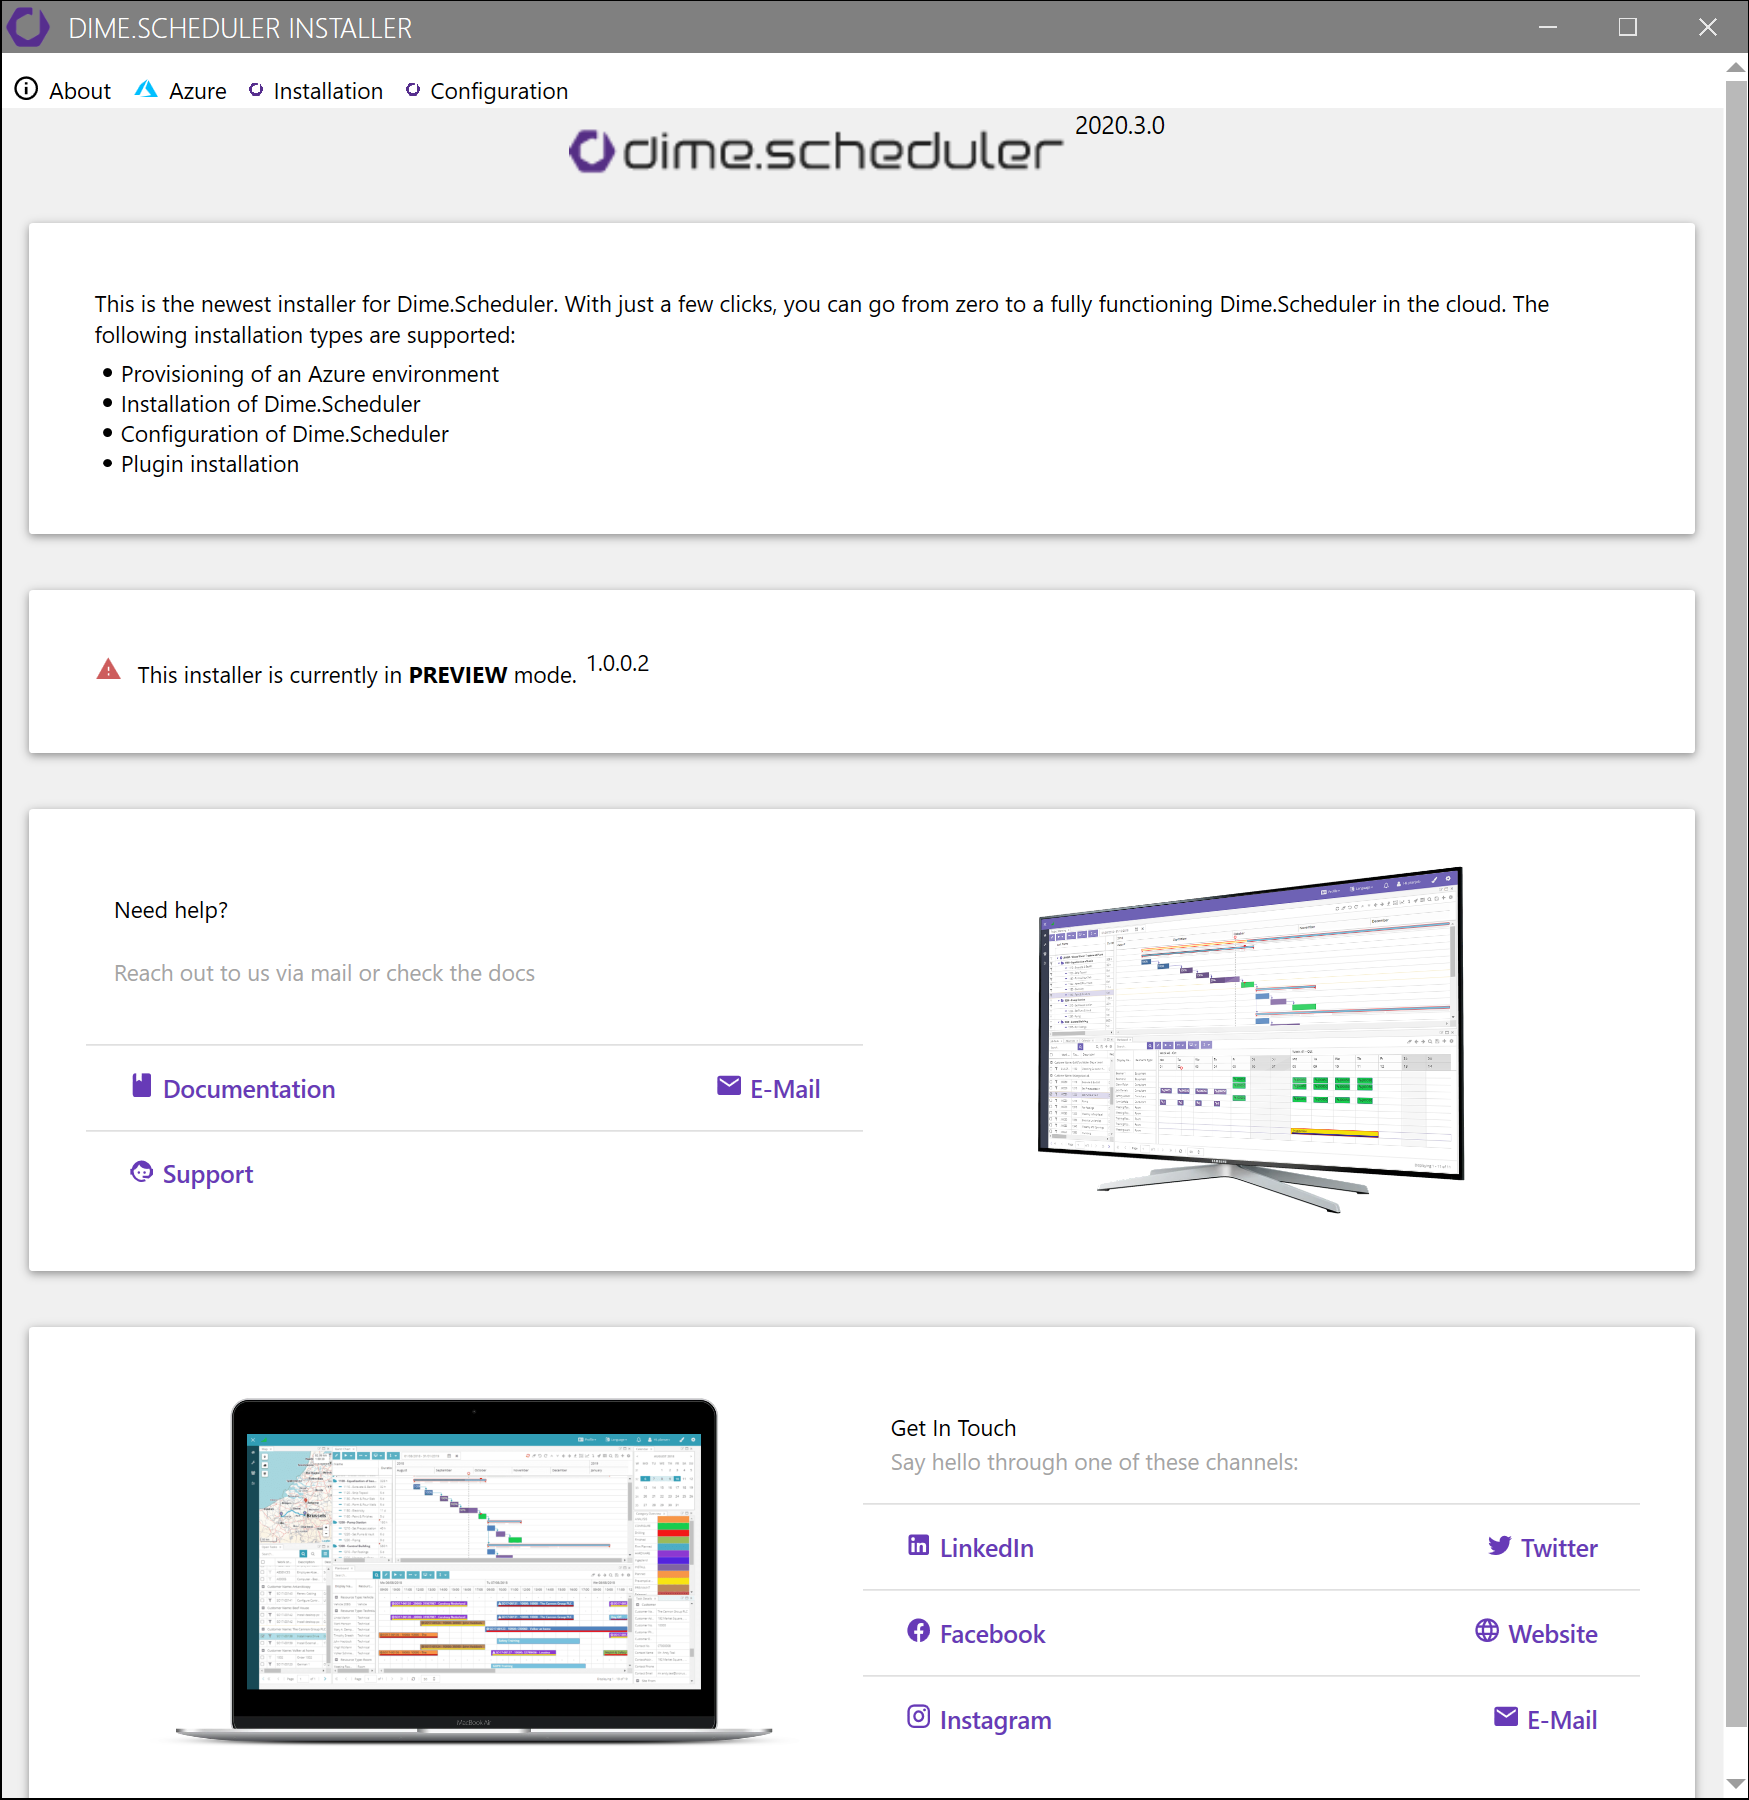
At the top of the window, you'll find four tabs 6:
- About
- Azure
- Installation
- Configuration
Let's take a brief look at them before we take a deep dive in the Azure deployment and Dime.Scheduler installation.
Before we move on, let's get one thing straight from the start to avoid any confusion: the installer does not rely on Azure environments. It is also designed to handle regular, on-premise installations. Even if you do wish to deploy Dime.Scheduler on Azure, this application is only indispensable when Dime.Scheduler itself needs to be deployed. Thus the Azure module is entirely optional but it is certainly useful as we set up the resources on Azure the way we like it.
About
The first tab is merely an introduction to the installer and shares a few fair dinkum interesting links (among which this article).
Azure
For on-premise deployments, this tab can be safely skipped.
The second tab is primarily concerned with creating a (blank) environment on Azure. The many fields you see here enable you to configure such an environment. When the deployment button is clicked, the installer will go right ahead and create the things we need to run Dime.Scheduler on one of your Azure subscriptions.
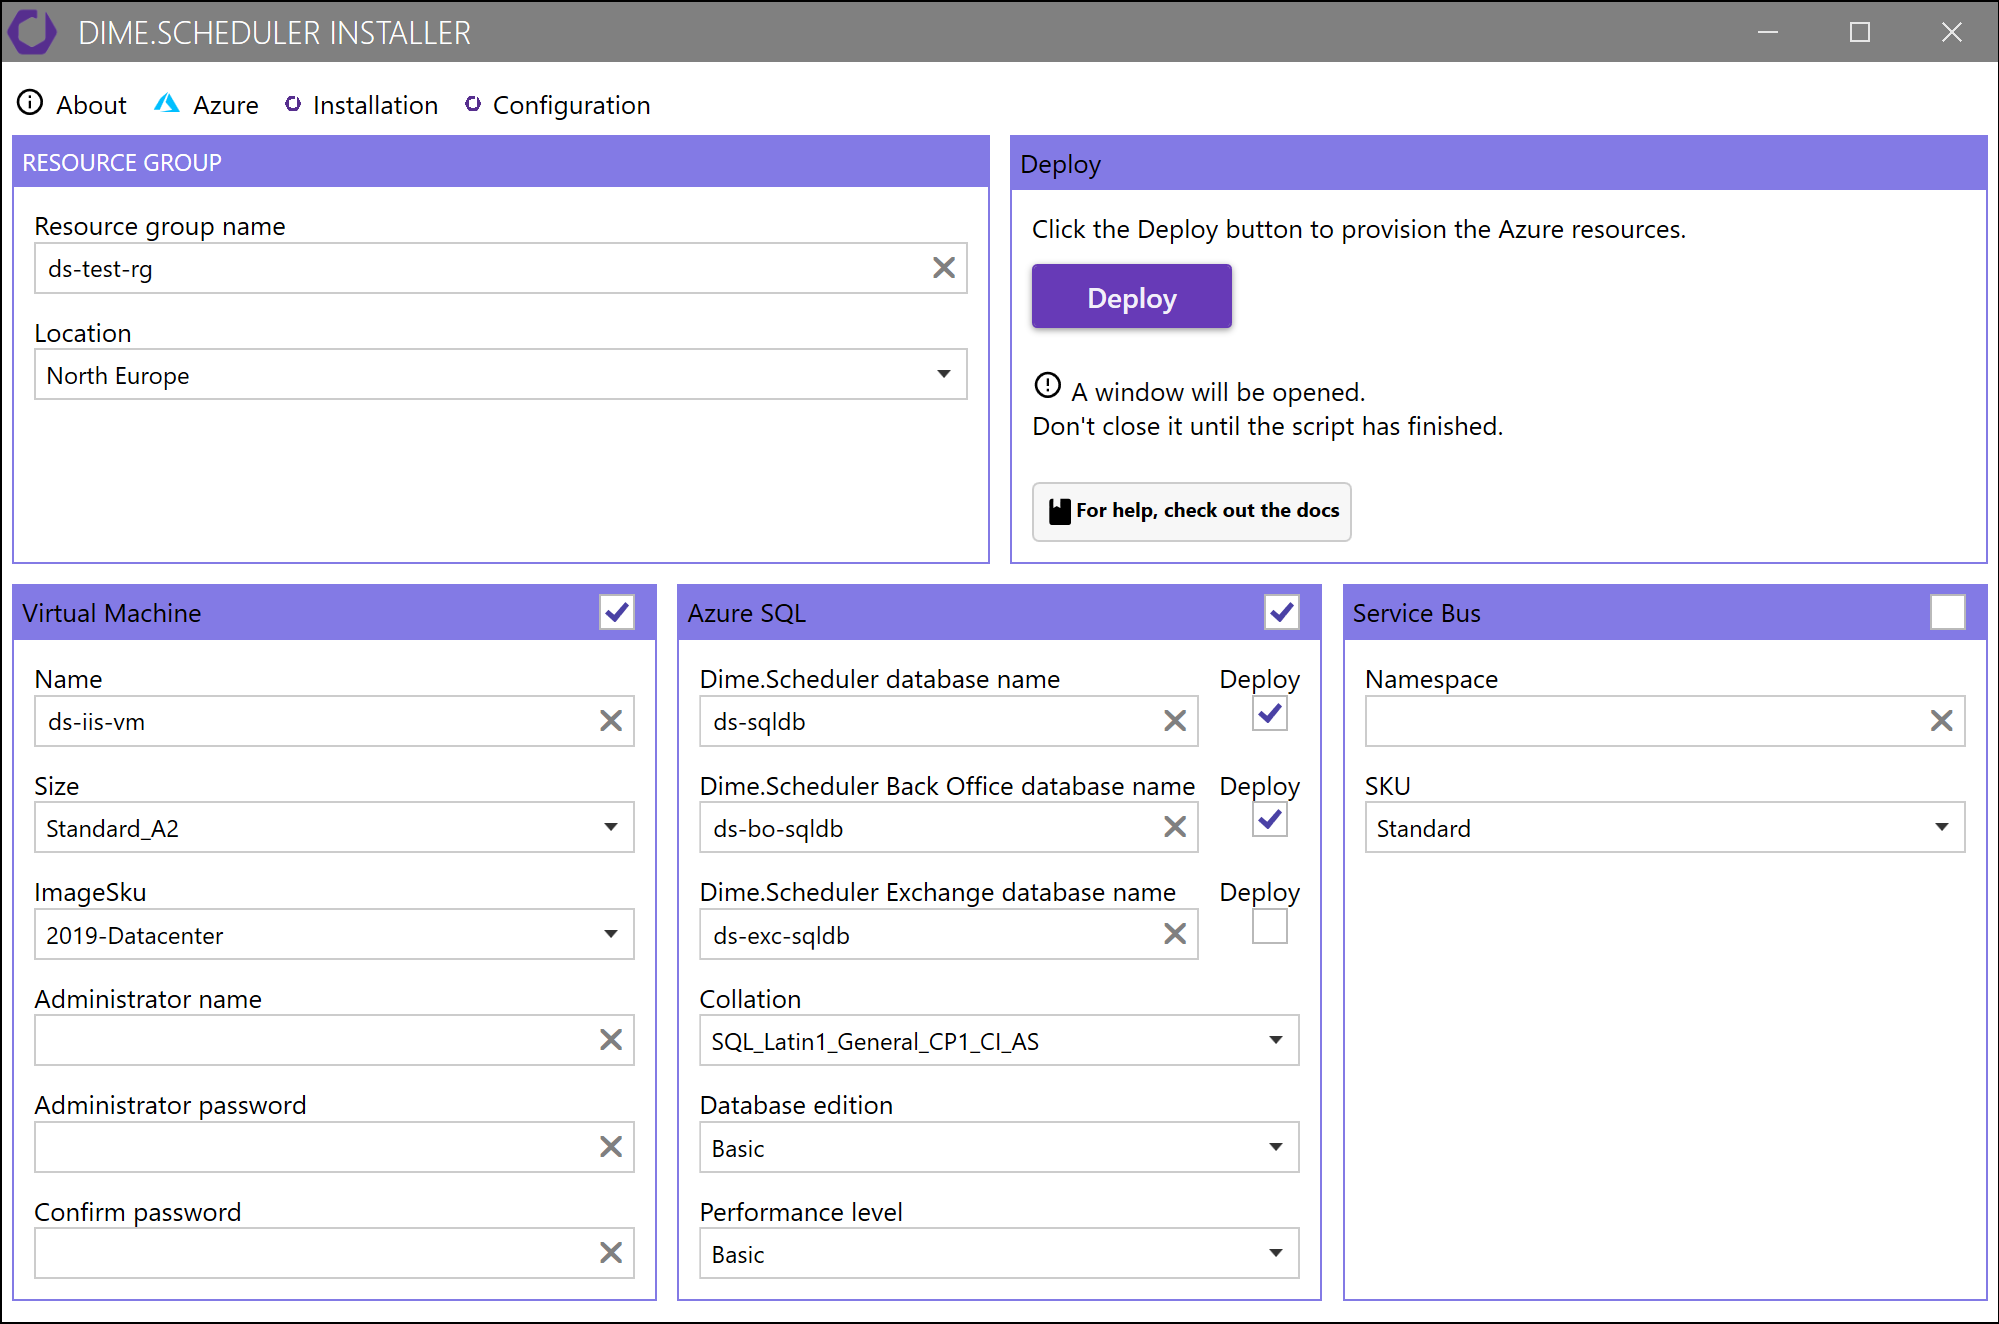
This tab is divided into two distinct areas: resource group and resources. Don't get this mixed up with Dime.Scheduler's nomenclature 1:
- A resource group is a container that holds related resources for an Azure solution. The resource group includes those resources that you want to manage as a group.
- A resource is a manageable item that is available through Azure. Virtual machines, storage accounts, web apps, databases, and virtual networks are examples of resources.
We just need a few resources to establish a cloud-only environment for Dime.Scheduler. We added some of the most important parameters to the graphical user interface, so everything is available in one screen. For example, you can change the size of the virtual machine or the performance level of databases.
We aim to comply with the best practices as much as possible. The default values that you see are an example as they adhere to the naming conventions. We recommend you do the same, but we'll come back to this later.
Installation
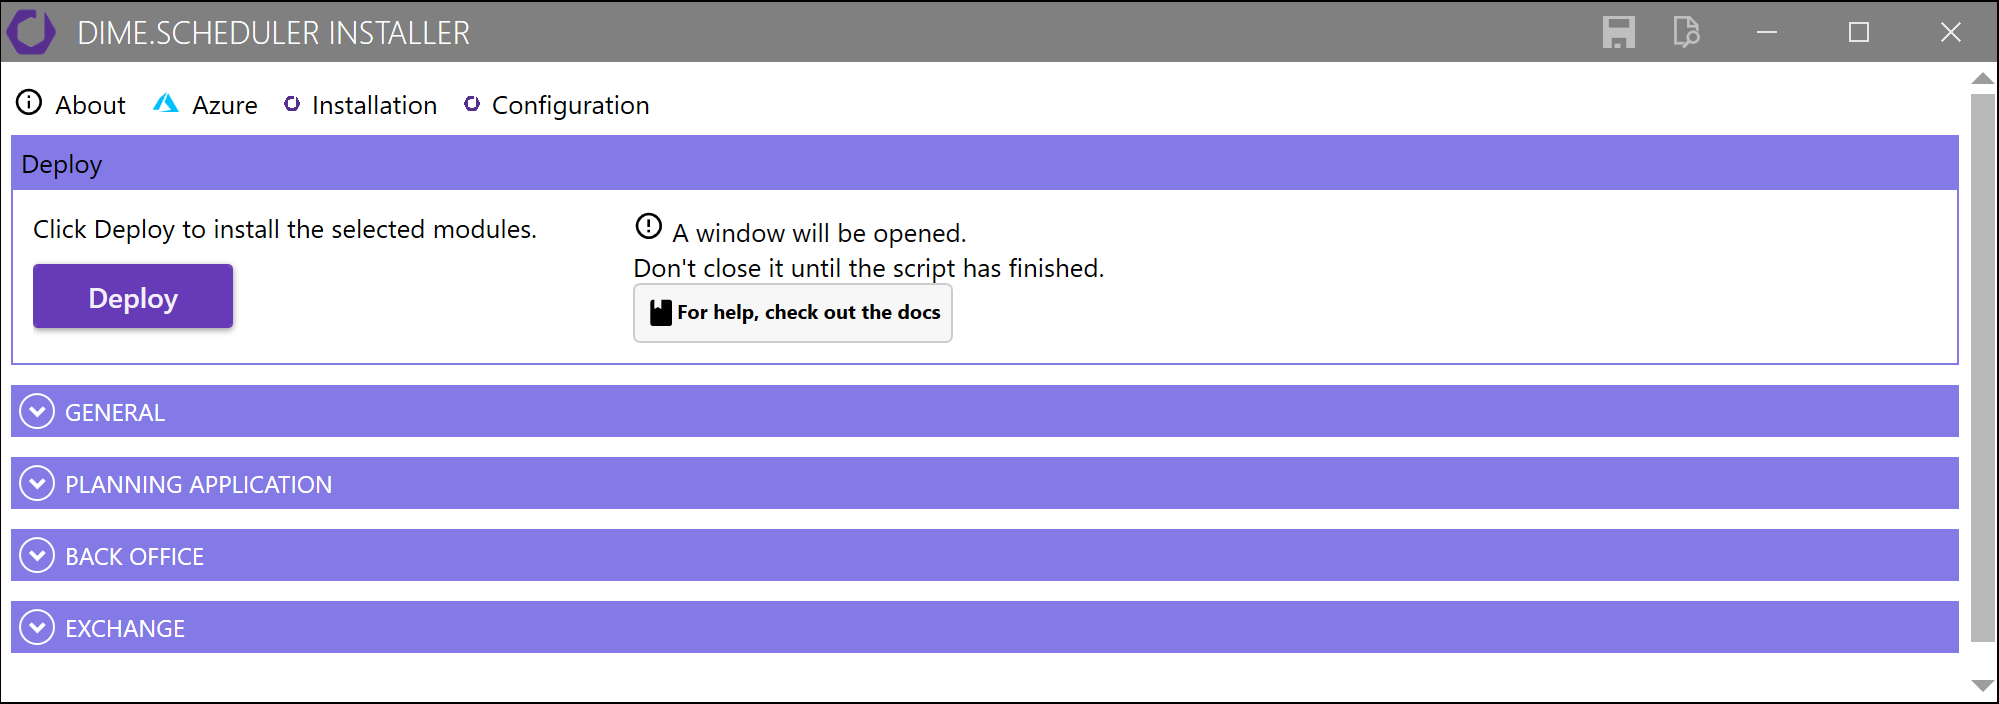
This tab is pretty self-explanatory. Nearly all the installation steps have been captured in the installer 5. In this tab, you configure and deploy all the artifacts such as web applications, databases and Windows services.
These steps have been automated with a series of scripts, whose configuration can be done with this graphical user interface:
We'll get back to the nitty gritty details later in the next pages.
Configuration
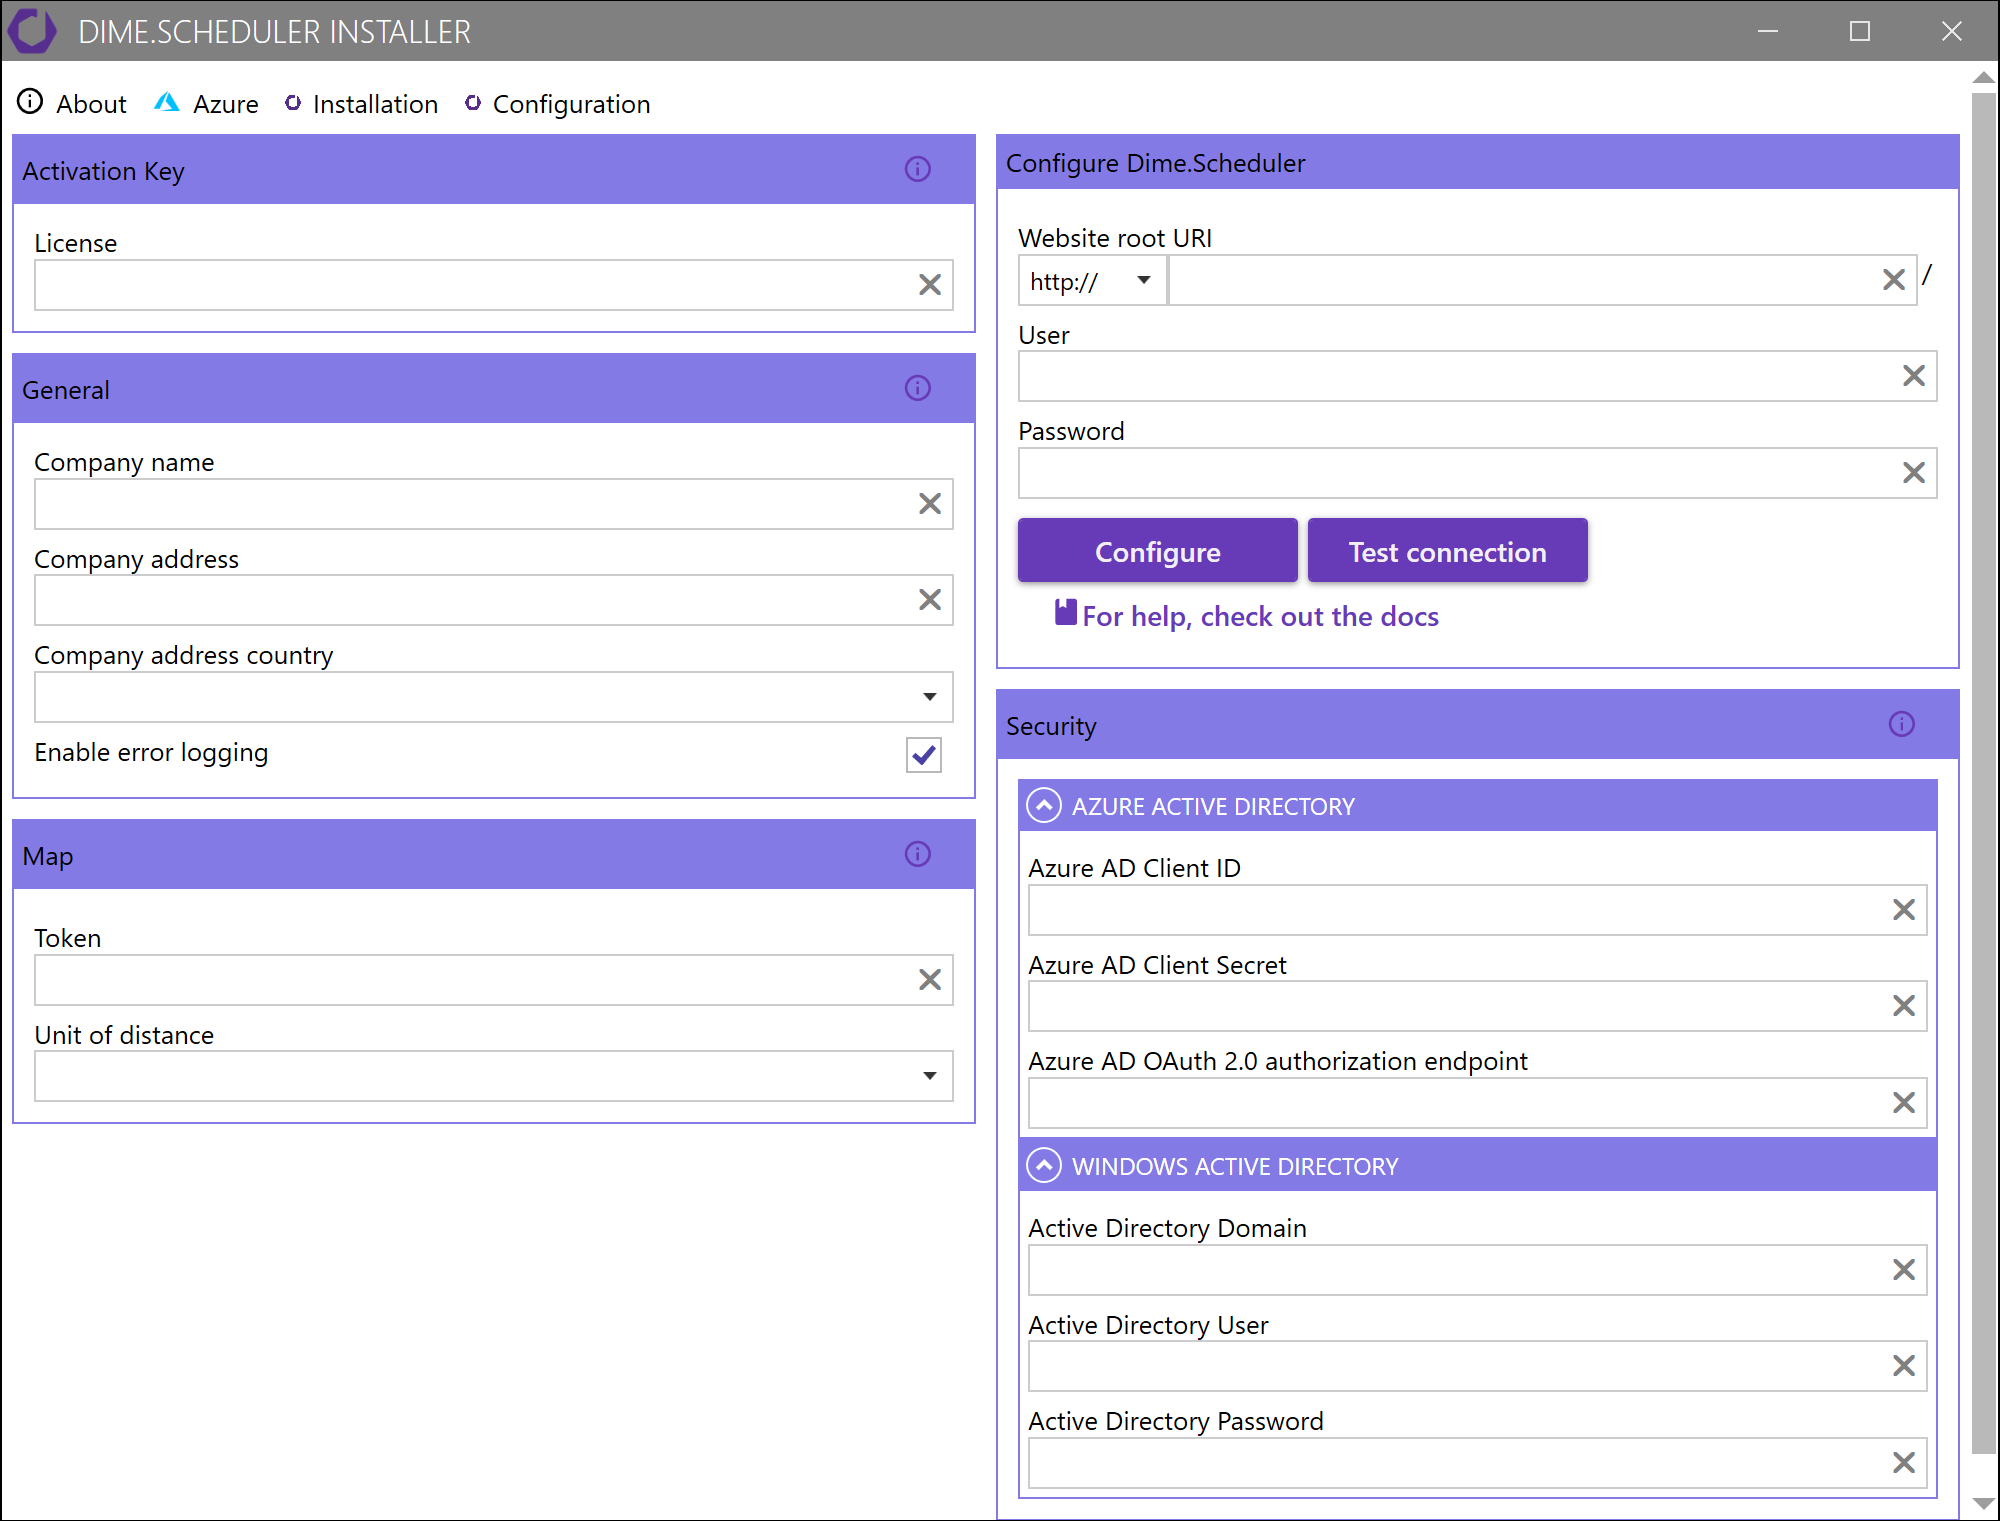
This tab enables you to remotely configure Dime.Scheduler:
Read more
- A fifth tab called "Business Central" will appear when the "Experimental" mode is set to "Visible" in the
appsettings.jsonfile of the installer. As soon as this tab has been approved by our quality assurance team, it will be included by default in the third major version of the installer.↩ - Check out this Microsoft doc for some of the terminology on Azure.↩
- See here↩