Dime.Scheduler Setup
The process
Dime.Scheduler is hosted as a separate application and yet has a tight integration with the back office systems it caters to. To make the business process go full circle, we must ensure that each phase in the following flow chart has been set up correctly.
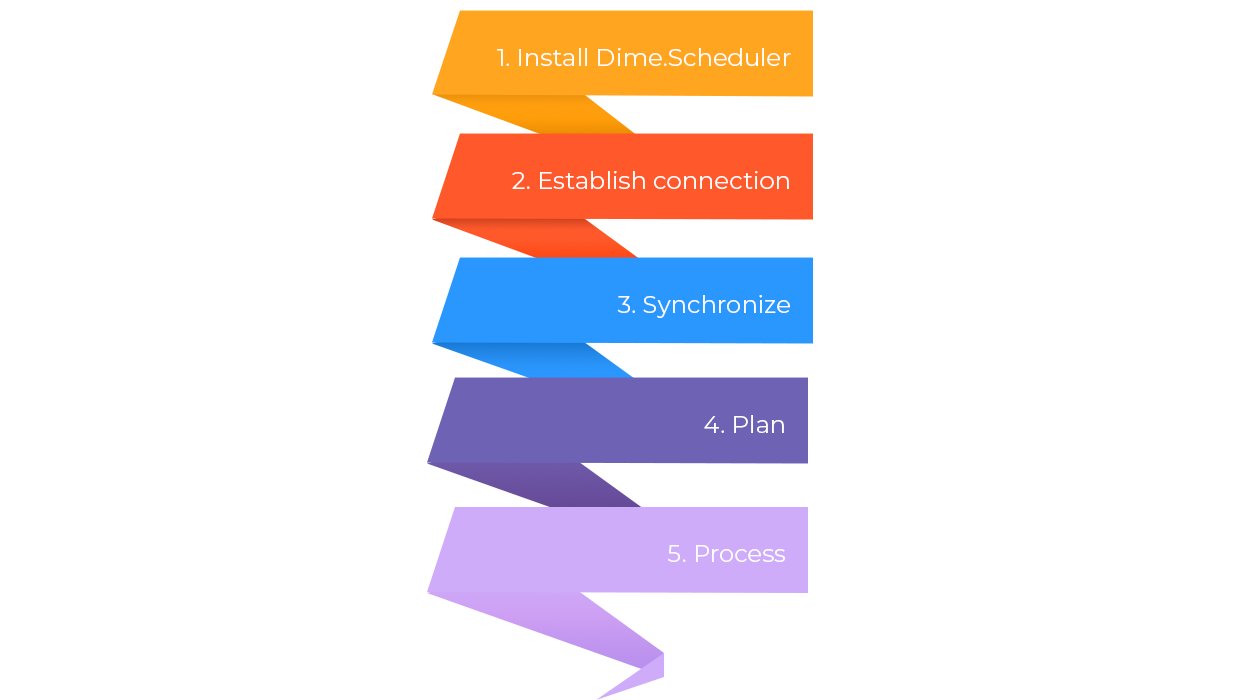
Obviously, we need to install Dime.Scheduler first. Next up is the integration part, which arguably is the most complicated part because it requires the reseller's insights and knowledge about the customer's business to establish the connection. Once the connection is live is it up to the planners to send the work items (service orders, jobs, projects, etc.) to Dime.Scheduler to be scheduled in the planning board subsequently. Finally, and most importantly, the planning produced in Dime.Scheduler (materialized by appointments) needs to be linked back to the back office system, so it can be invoiced, for example.
This entire manual is concerned with these steps in mind. In order to do all of this, we obviously need to get a hold of the software first.
Step 1: Get the package
The installation package contains all artifacts you need to get started. Follow the instructions in this article to retrieve the package.
Step 2: Install Dime.Scheduler
Deploy new instances
Dime.Scheduler is not just one big application, it is rather a set of smaller applications with their own responsibilities. For example, the Exchange connector is only concerned with sending messages to the calendars of the resources. This modular approach is reflected in the hosting of Dime.Scheduler.
Depending on the requirements, it may not be necessary to install all components. For example, the Exchange connector is not mandatory and can be left out if it is not desired.
The all-in-one installer allows you to exactly that. Most of the default parameters can be used to get you up and running. You'd just need to tweak a few parameters such as service accounts and database connection strings, and after just a few minutes you'll be good to go.
Update existing instances
Updating Dime.Scheduler requires less work than new instances. Simply follow the instructions in the upgrade guide, followed by the regular installation procedure.
Step 3: Setup back office(s)
Once Dime.Scheduler is deployed, it is time to establish the message flow from the backoffice system to Dime.Scheduler. Head over to the plugins page, select the backoffice system of interest, and follow the instructions there.