Demo environment
❗ These training and demo packages are for internal use only and may not be distributed to other partners and customers.
To make it easier for you to demonstrate the newest versions of Dime.Scheduler, we have created different Hyper-V environments. This way you don't have to go through the entire installation process, you just fire up the virtual machine and you're good to go.
Hyper-V is Microsoft's virtualization platform. In simple terms, technologies like these allow you to run "multiple computers in a computer". With technologies such as Hyper-V we are able to create a plug-and-play experience for Dime.Scheduler, where all the necessary setup and configuration has already been done beforehand by Dime. All you need to do is prepare your own computer to host Hyper-V.
Download
The Hyper-V environments can be downloaded from Dime.Scheduler's FTP server. Drop us a line at hello@dimescheduler.com to get access.
Packages
There are multiple environments to choose from:
| Environment | Example |
|---|---|
DS[VERSION-YEAR]_[VERSION-MAJOR]_[VERSION-MINOR]_Training.zip | DS2021_2_0_Training.zip |
DS[VERSION-YEAR]_[VERSION-MAJOR]_[VERSION-MINOR]_Demo.zip.zip | DS2021_2_0_Demo.zip |
| Install_Training.zip | N/A |
The main difference between the training and demo sandbox environments is that the demo environment is ready to show to your customers and prospects. The training environment is used in the partner training sessions to get the attendees acquainted with Dime.Scheduler. The third package contains an empty virtual machine with Business Central.
Install Hyper-V Manager
To use the Hyper-V environments, you need to install Hyper-V on your computer. You can install it on Windows 10 Pro or Windows Server. If you are using older versions please check if your computer is compatible.
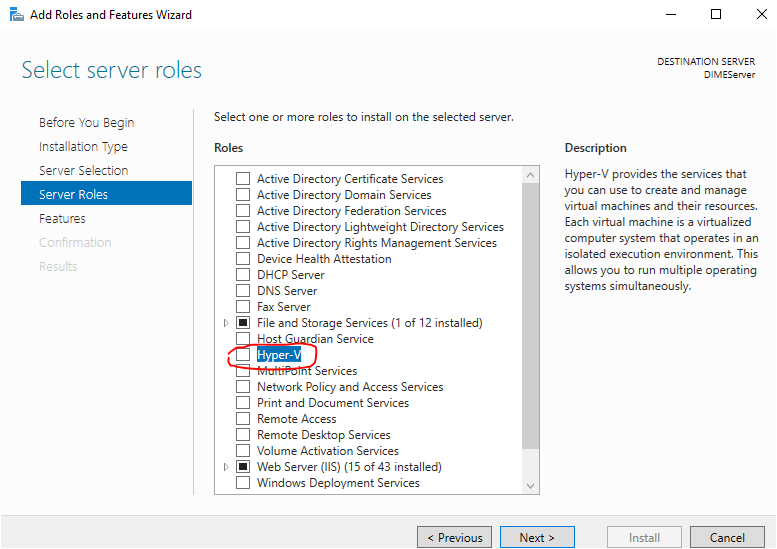
Go to Server Management Dashboard and select Manage -> Add Roles and Features.

Follow step by step the advices and activate Hyper-V for Server Roles.
After the installation you will find a new program Hyper-V Manager in your "Windows Administration Tools".
Prepare the Hyper-V computer and virtual hard disk
Unzip the file you downloaded in the first step, and check if you get a VHDX file. This file is a hard disk for a Hyper-V computer. The next step is to setup the virtual computer.
Create the virtual computer
Setting up the virtual machine is a doddle. It's merely a matter of following the installation wizard that Microsoft provides. For the sake of completeness, let's go over this together.
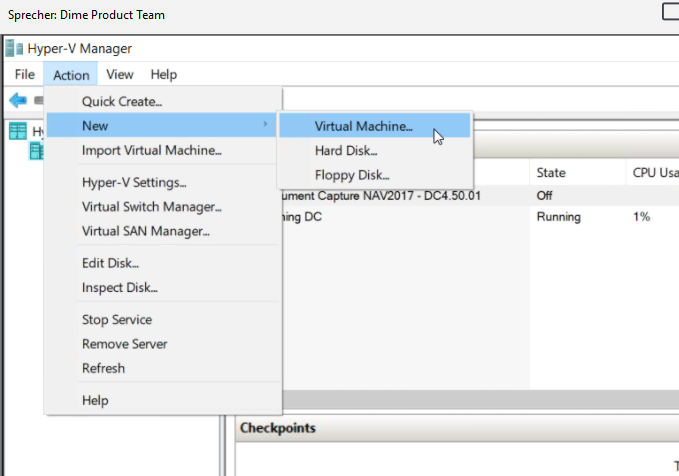
Start HyperV and click on Menu "Action". Select "New" and "Virtual Machine..."
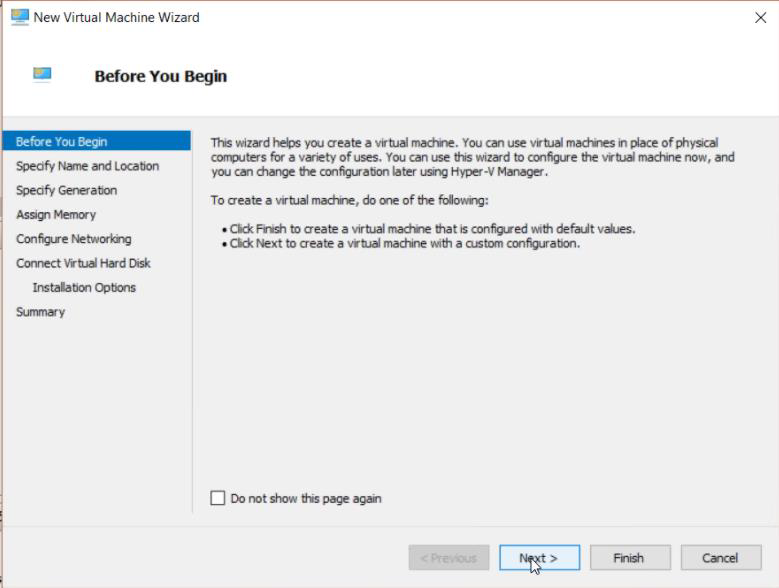
Don't bother reading the text in this window and select "Next".
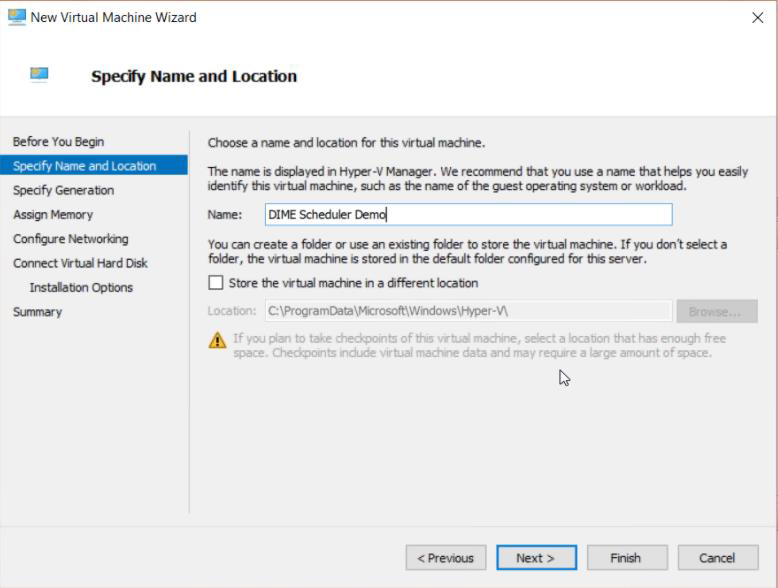
This window prompts you to enter the name of the virtual machine. It is possible to run multiple versions and multiple instances of the same version of Dime.Scheduler, so we recommend you to adhere to a naming convention. Something like DimeScheduler_2019_4_0 or DimeScheduler_2019_4_1 is brief and yet descriptive. Choose whatever makes you feel happy and comfortable, that's all we ask.
When you're done, click "Next".
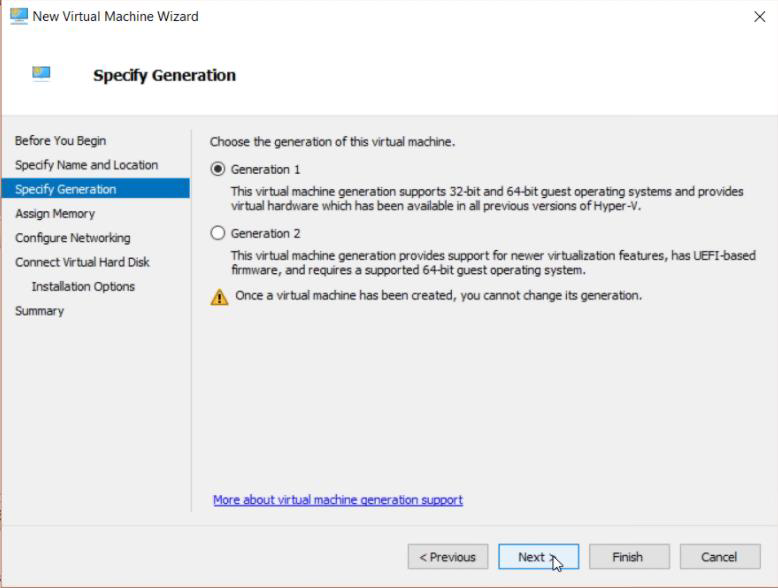
This screen requires some technical knowledge but for the purposes of this machine, it is not that important which option you choose. The virtual machine will work just fine with "Generation 1".
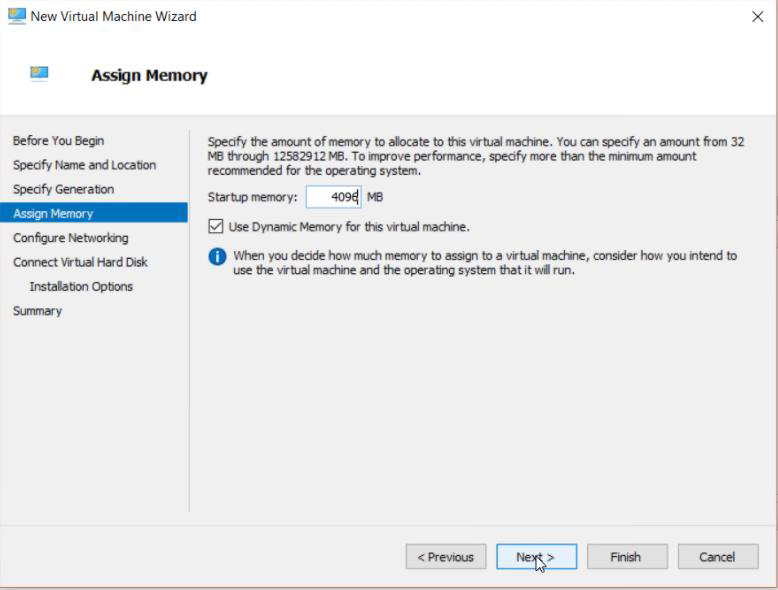
Just like your own computer, a virtualized machine also needs access to physical resources such as CPU and RAM. In this window you can define how much RAM you are willing to allocate when it is running. As you will recall, the VM will host the database, NAV BC and Dime.Scheduler so it will require some horsepower to host it, so we recommend a high number in order to have an acceptable performance.
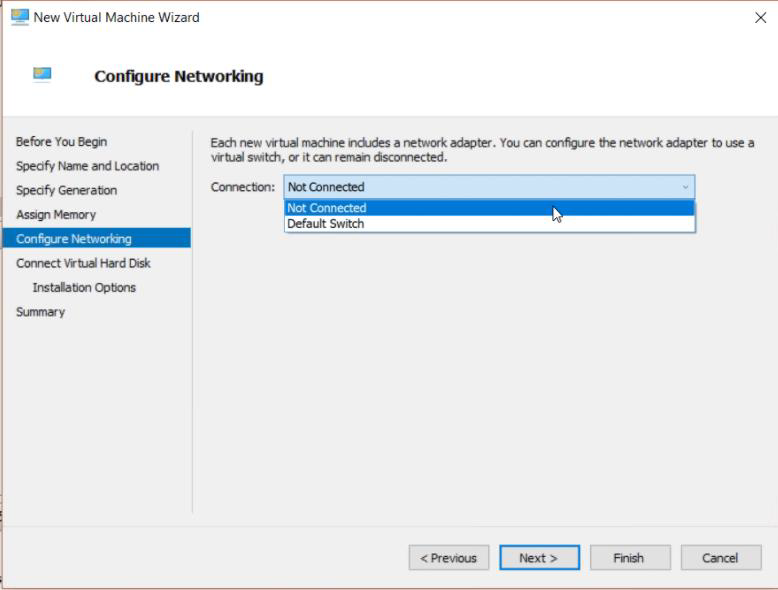
Don't overthink this one and make a beeline for the "Default Switch" connection. If you have no network by default, it could be you have to add manually the switch.
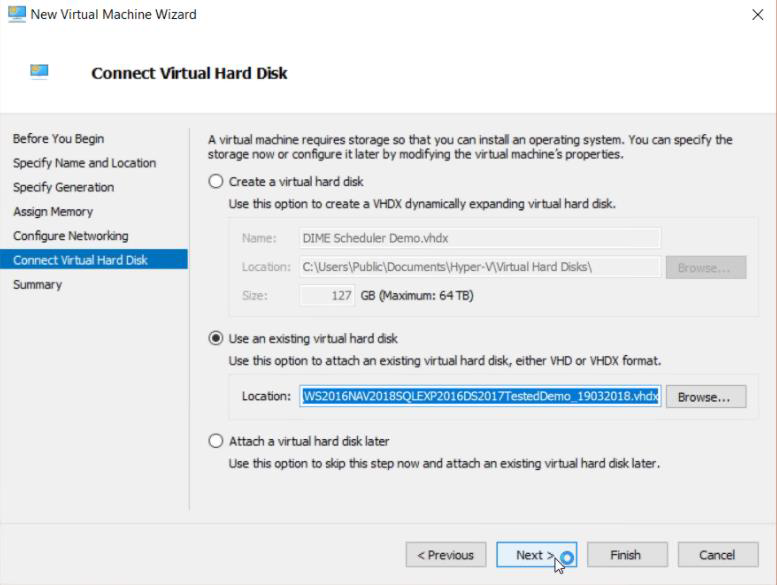
Select the hard disk file you have downloaded from the FTP server. You should create a separate path where you can place your virtual hard disks file(s).
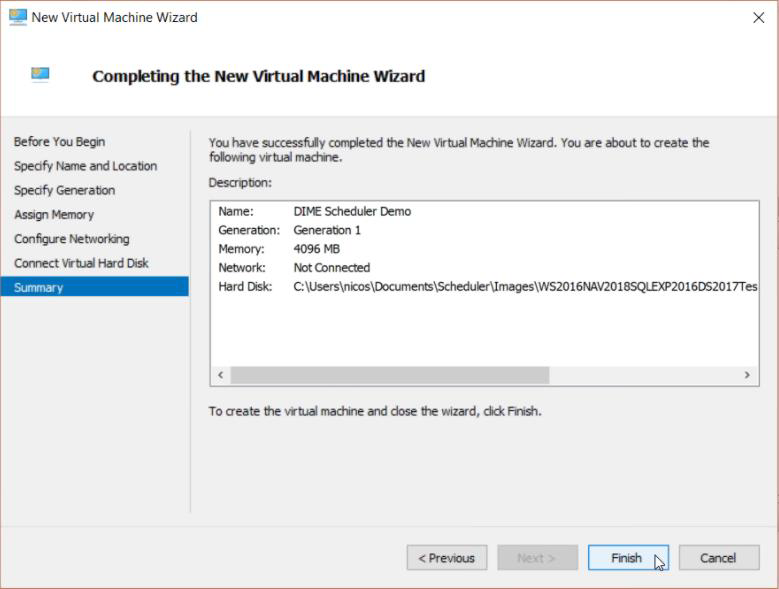
You will get a summary of your selections. Click "Finish" and Windows will get to work to create the virtual machine.
Setup the virtual machine
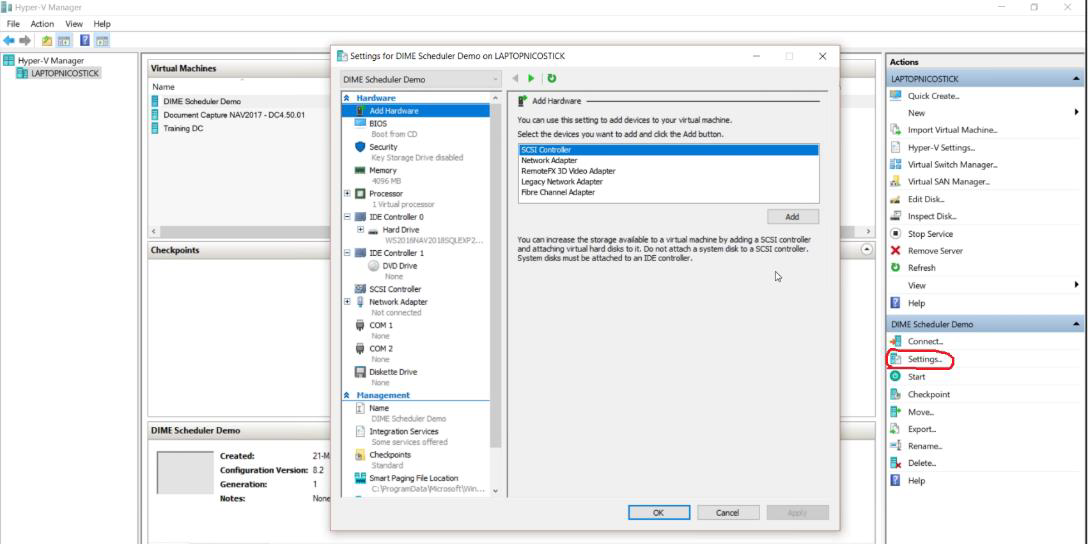
It is important to use a powerful processor and more than one core, preferably four cores. To do this, select "Settings" on the right hand side after having selected your virtual machine in the menu on the left hand side:
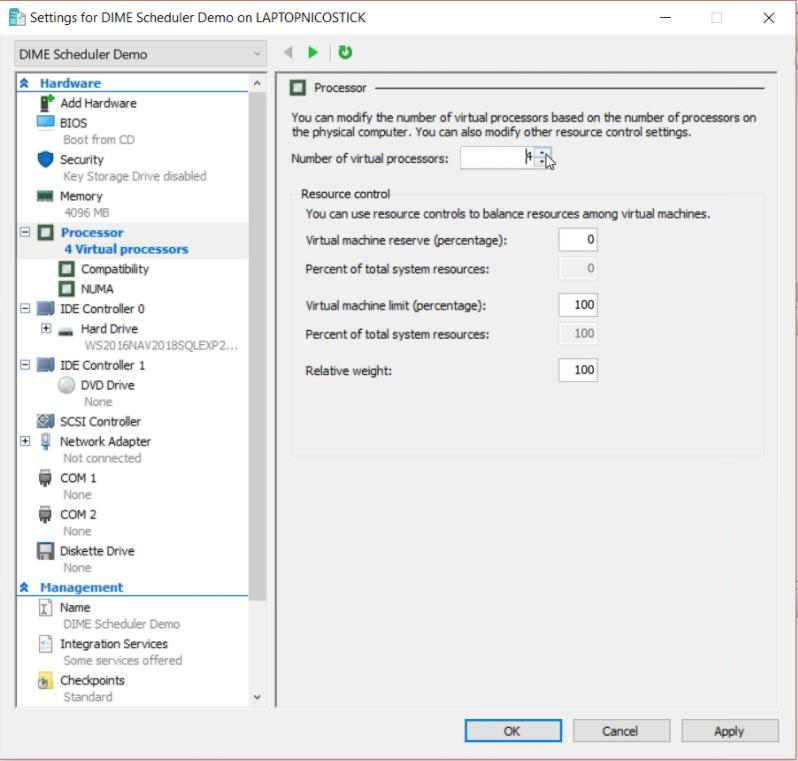
Select "Processor" and select the number of cores you want to have but make sure to have at least 2.
The virtual machine is now ready to work. You can connect to the computer or double click on the virtual computer line.
Log in to your virtual machine
After a while you will see the login screen.
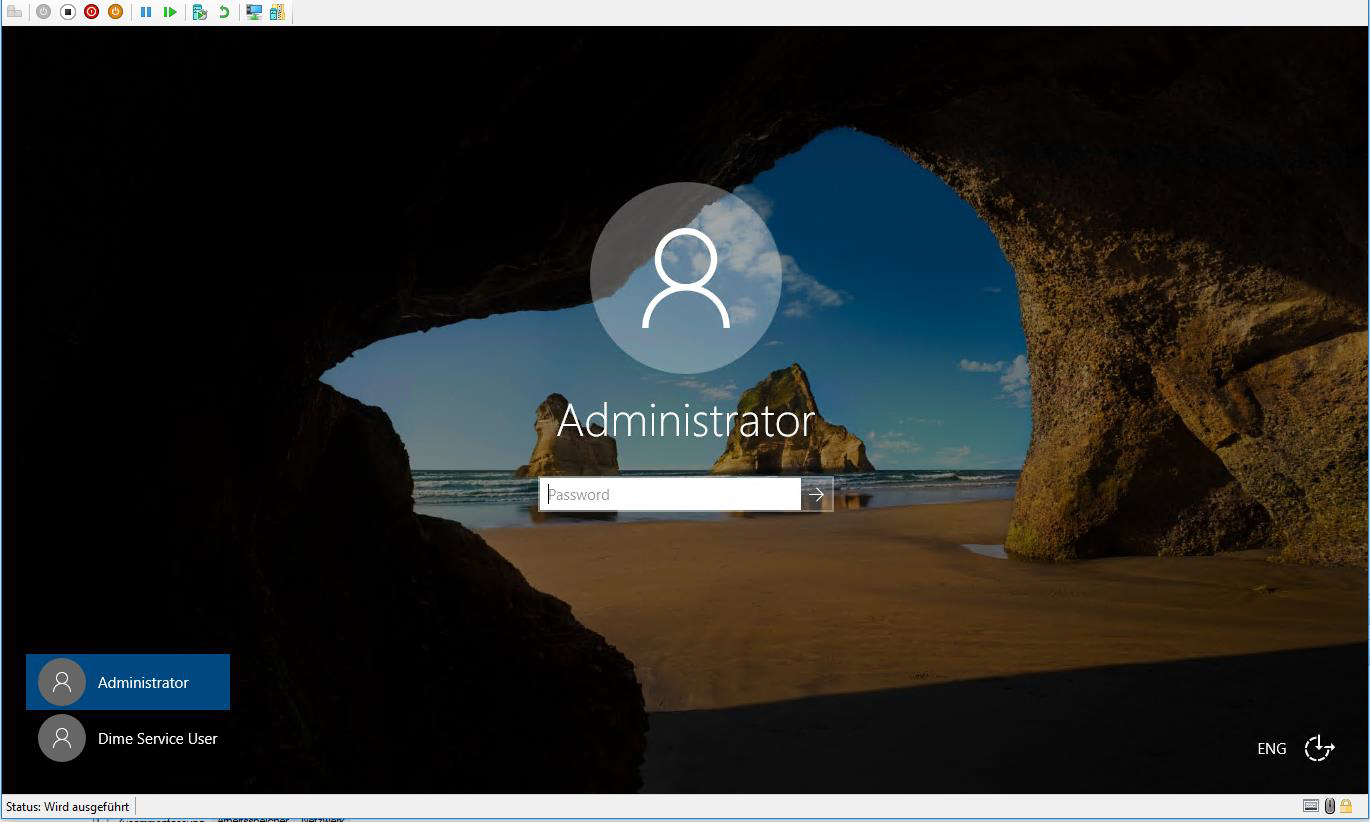
By default there are two users: "Administrator" and "Dime Service user". The password for both users is "Training1".