The mobile app
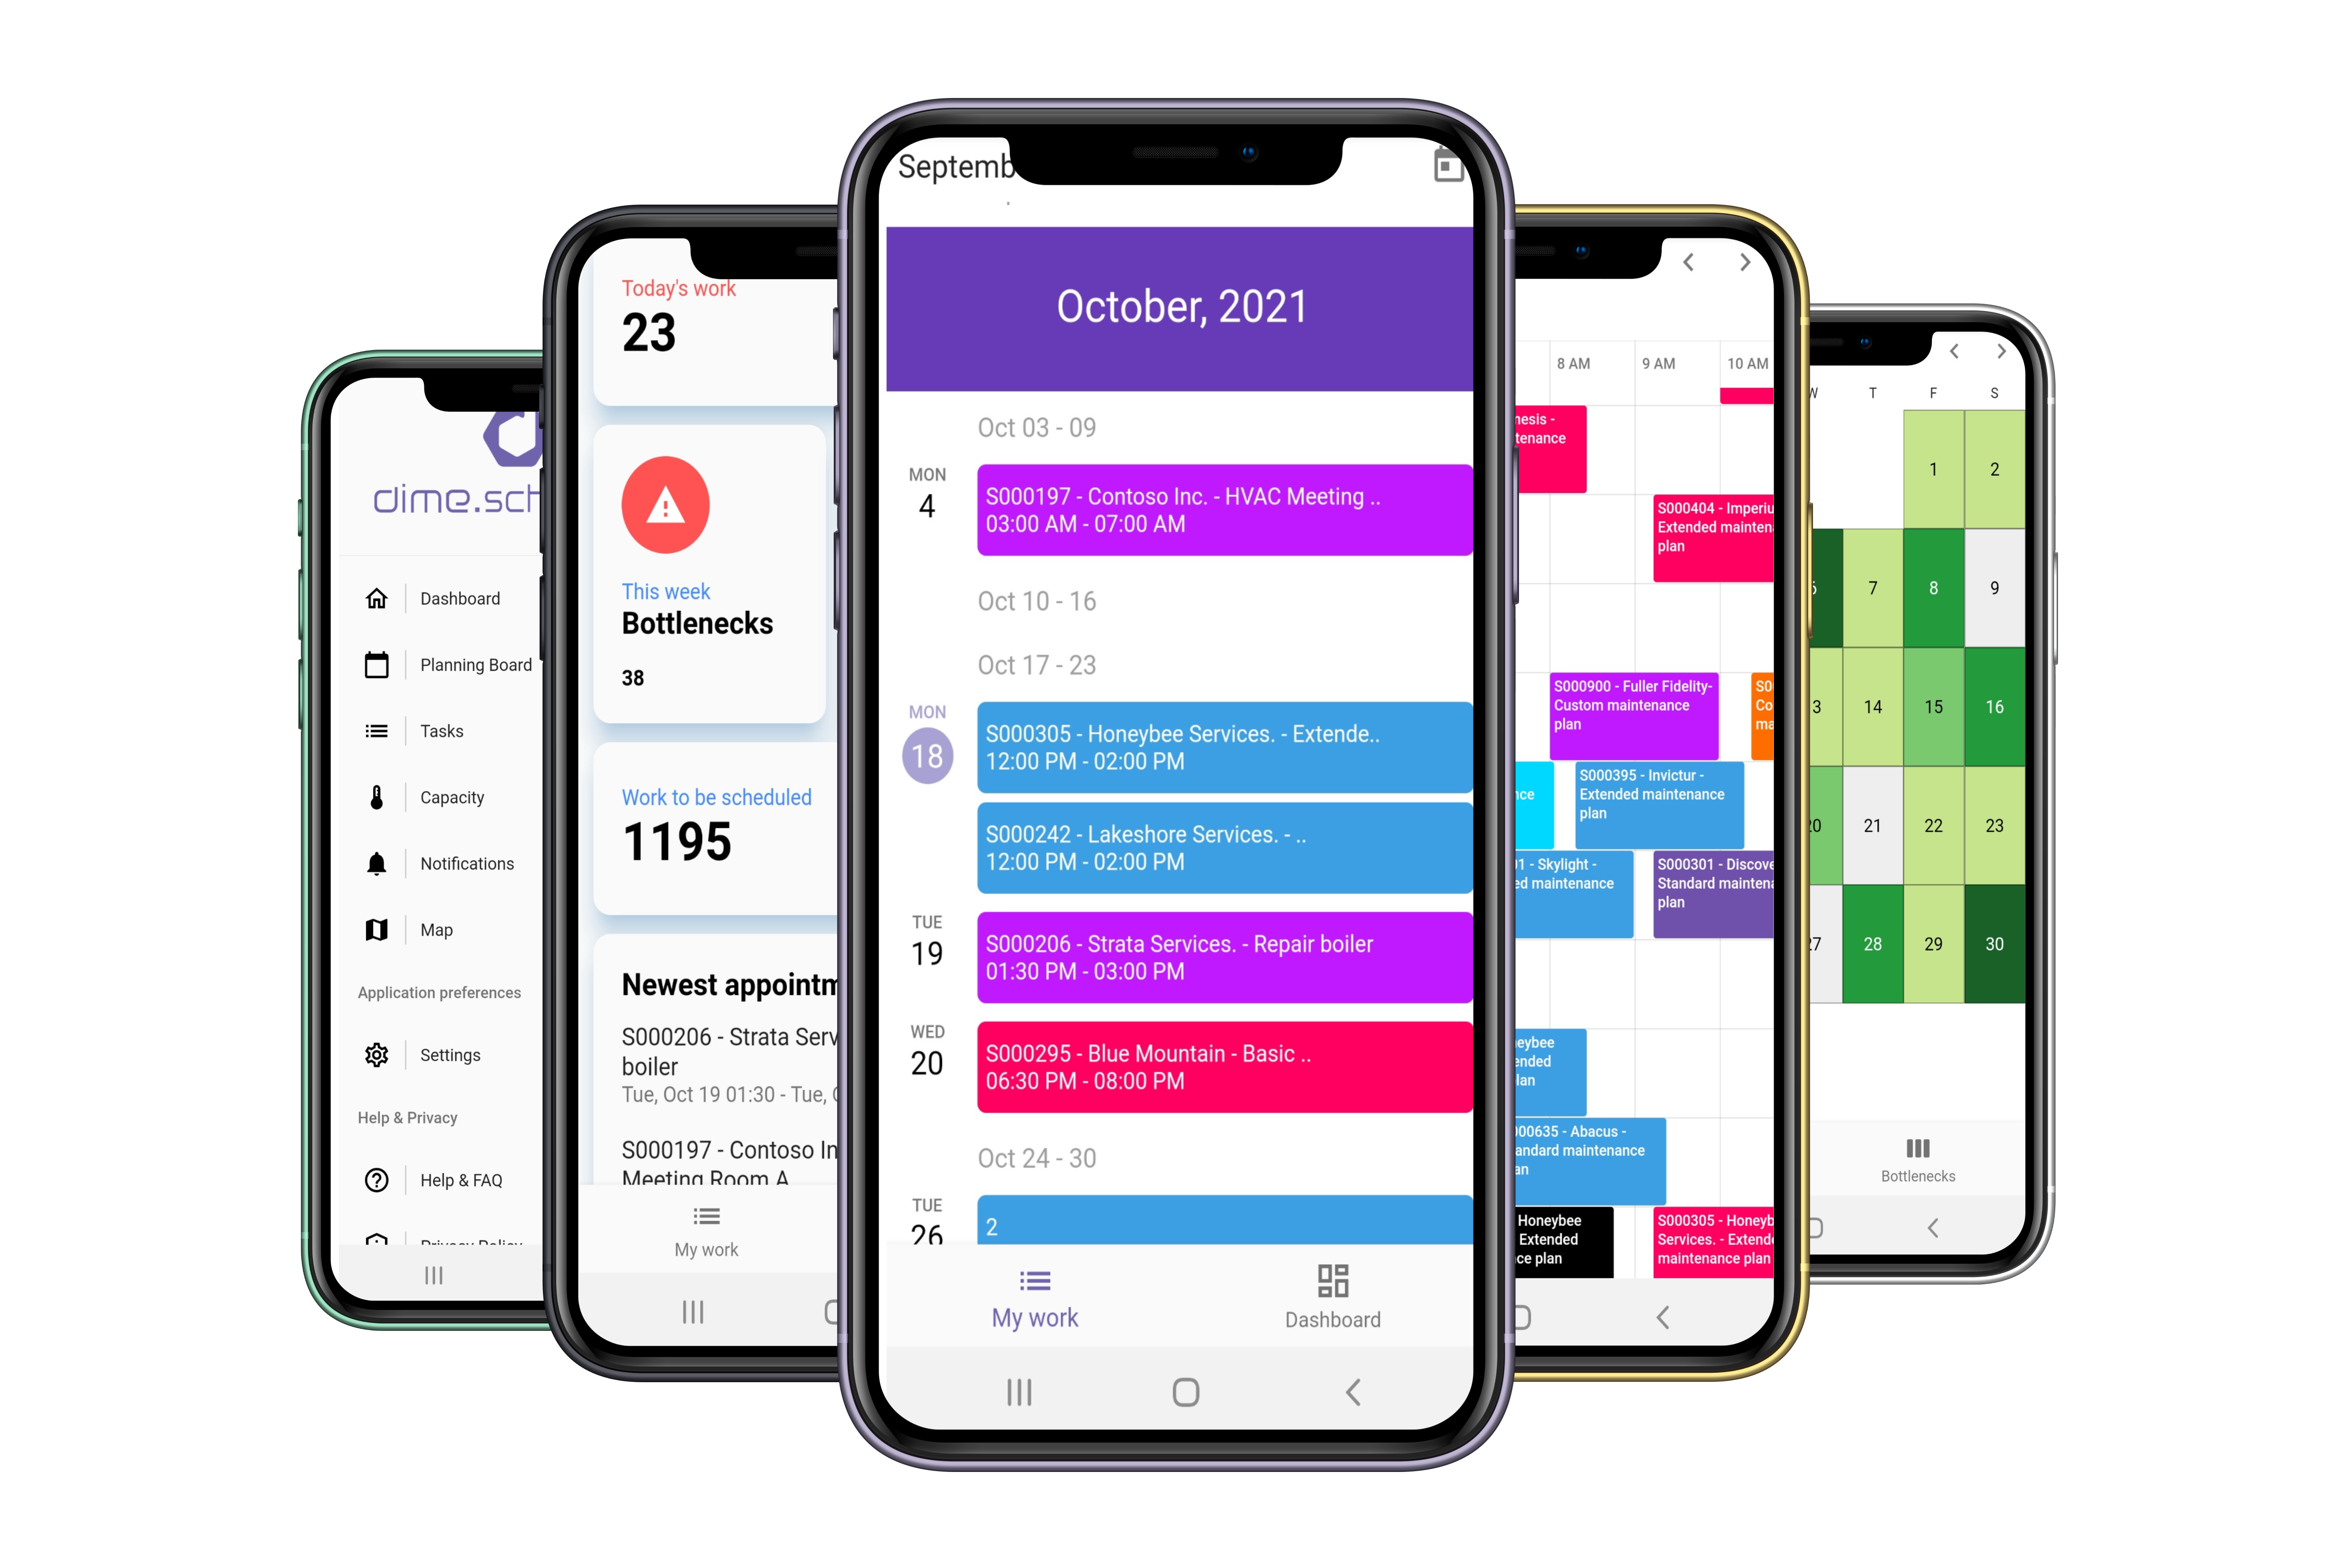
The mobile app for Dime.Scheduler - available for iOS and Android devices - is a tailor-made scheduling app for the resources on the road and in the field. Therefore, the app is in stark contrast with the web app, that focuses primarily on the planner. The mobile app has been designed with the resources in mind so they can manage their schedule more easily. While the planners can obviously use the app themselves, this app is not a replacement for the web app.
Rather want to follow a video tutorial? Check out the video here:
Install the app
Download the app on the App Store or on Google Play:
The mobile app relies on a backend service to provide you with the data and tools. Contact your administrator to get the mobile backend set up.
Sign in
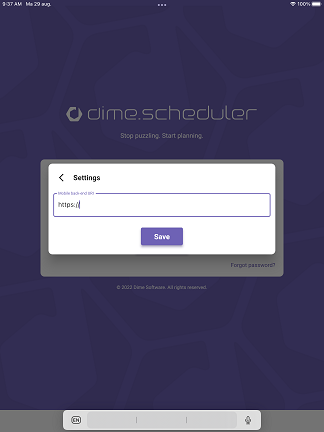
Once installed, fire up the app and you'll hit the authentication wall:

To log in and use the app, you'll need to consult your administrator, who will provide you with:
- The link to the backend
- Your user account
You will receive an e-mail from Dime.Scheduler to confirm your account. Follow the instructions in the e-mail to set your password. Once that's done, you'll be able to sign in.
Existing users are technically able to sign in with their existing credentials, although we advice against this. The Dime.Scheduler web app uses an older authentication mechanism, which is incompatible with the modern mobile backend service, and may corrupt the hashed password key, causing the user to reset the password to be able to sign in to Dime.Scheduler itself. This will be resolved in one of the next releases of Dime.Scheduler.
If this is the first time you use the app, or if you just (re-)installed the app, you'll be prompted to enter the mobile backend URI. Enter the value your administrator provided you and save. If you did everything correctly, you'll be signed in.
Scheduling views
My schedule
Your user account may be linked to a resource in Dime.Scheduler. In other words, your planner sees you as a resource which he/she plans in the planning board. You, the user of the mobile app, may see your own schedule if the administrator has set the e-mail address field of the resource to the e-mail address that you used to sign in.
When this condition isn't fulfilled, you won't see the 'My Schedule' screen. Not to worry though, your administrator can always change this, and the only thing you'll need to do is log out and in again to see the changes.
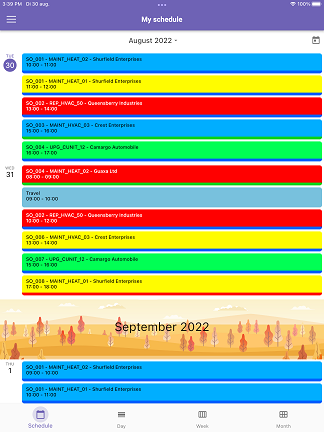
At the bottom of the page, you can navigate between the different views:
- Schedule
- Day
- Week
- Month
All planning
The all planning view is the mobile version of Dime.Scheduler's planning board. It shows the list of resources which you have access to and their corresponding schedule.
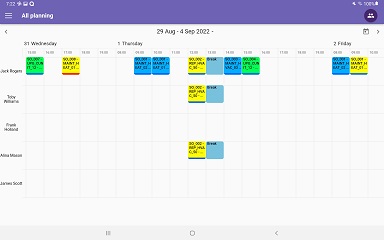
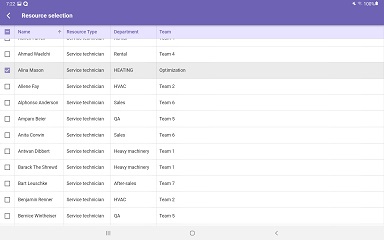
By tapping the button in the top-right corner, you can make a subselection that you want to see. Simply check the boxes of the resources that you want to see. Uncheck to remove a resource from the list. To save, tap the icon in the top-left corner of the screen.
Appointment card
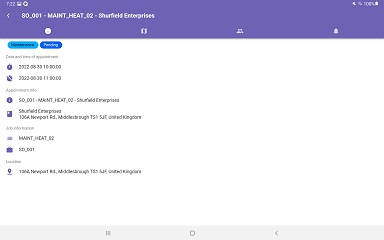
You can see more details of the appointment when you tap one in of the planning boards across the My Schedule and All Planning views. There are four tabs:
- Info: general information on the appointment
- Map: shows the location on the map
- Resources: shows who's been assigned to the appointment
- Notifications: an optional list of notifications related to the order
Settings
Unsurprisingly, the settings screen is where all the setup is located. The current edition of the app has two fields:
- The mobile backend: this value should not change unless strictly necessary
- Visible working hours: Use this slider to set the visible time range in the planning boards in the mobile app

Location tracking
The mobile app can also be used as a location tracker. Instead of using expensive and complicated devices, you can use the app to share your location with the planner in Dime.Scheduler.
To use the location tracker successfully (i.e. to push your location onto the map in the Dime.Scheduler web app), you will need to opt in to the advanced map license of Dime.Scheduler.
Configure tracking times
Location tracking is disabled by default. When enabled, you'll need to grant Dime.Scheduler the permission to always track your location. However, the app doesn't actually always track your location. It's just a requirement so the app can use the location services of your mobile device from the background.
The app will only send updates to Dime.Scheduler when the current time falls in the range that's in the middle of the screen, and when it isn't in the range of paused moments.
When you tap the caret icon in the middle of the screen, you can manage the schedule:
By tapping on the 'Pause tracking' button, you can add exceptions to the regular schedule during which the location tracker should not send updates:
Location services
Turn on location services
Always allow your location to be used by the mobile app. The app will ask for permissions automatically, but otherwise you can use the mobile device's settings:
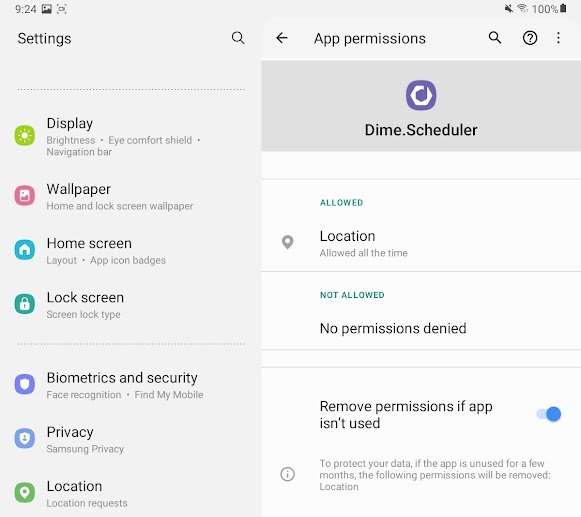
We remind you that the app does not actually track your location all the time, only during the times configured in the location tracking setup screen. The 'Always Allow' option unlocks the ability to track your location in the background, even when you're not using the app.
Background service
The app requests the mobile device to run the background service every 15 minutes. There is no guarantee that the device will dispatch the job, however. There are a myriad of variables which we cannot control, such as battery levels, memory usage, how often and how much you use the app, etc. Particularly iOS has a rather strict algorithm: not using the app for a day could lead to a lower score, and might even result in suspending the background service entirely until you use the Dime.Scheduler app again.
When used frequently, there should be no cause for suspending the app's background service.

