Extension
There are a few ways to install the Microsoft Dynamics 365 Business Central (BC) connector for Dime.Scheduler. The old way of working, that is using objects, is still supported, albeit for backwards compatibility only. Microsoft encourages its partners to create extensions for said platform. And that's what we did. There are two flavours of the extension:
- The on-premise extension is an .app file that you need to install manually on the BC server using PowerShell.
- For cloud instances of BC, the extension published on AppSource can be installed with the mere click of a button.
Let's take a look at how they're deployed.
Dime.Scheduler FastTrack has been developed as a quick-start utility. We encourage you to add new functionality in the extension to simplify the integration with your vertical or custom solution.
On-premise extension
Microsoft's recommended deployment steps should be followed. Let's walk through it:
- Get the extension from the installation package.
- Locate the extension.
- Start the Dynamics NAV Administration Shell in this directory and execute the following script:
  Publish-NAVApp -ServerInstance YourDynamicsNAVServer -Path ".\Dime_Dime.Scheduler_x.x.x.x.app"
  Sync-NavApp -ServerInstance YourDynamicsNAVServer -Name "Dime.Scheduler"
  Install-NAVApp -ServerInstance YourDynamicsNAVServer -Name "Dime.Scheduler"
If the deployment is done on a multi-tenant server instance, a -Tenant parameter should be added to the second and third command. Also, the third command is optional because the app can be installed by using the client.
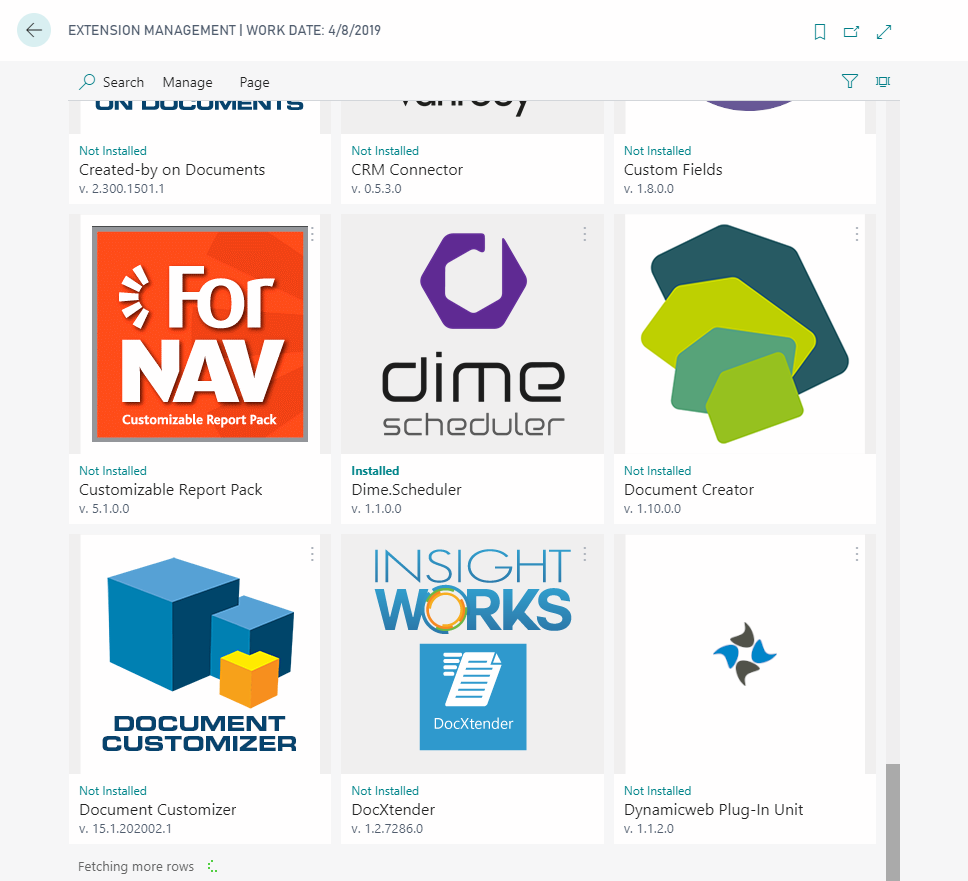
Within moments, you should see the Dime.Scheduler extension appear in the extension list:
AppSource
The Dime.Scheduler connector for Microsoft Dynamics 365 Business Central is available on AppSource. Simply fire up the extension, hook it up to Dime.Scheduler and you're good to go!
Let's go through it step by step.
Click on this link or head over to AppSource and look for 'Dime' or 'Dime.Scheduler' in the search bar:

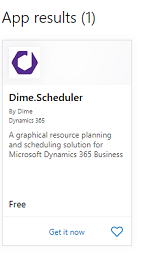
The search engine should have found the connector:
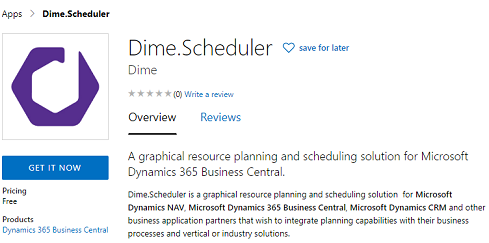
Click on the card to open the detail page:
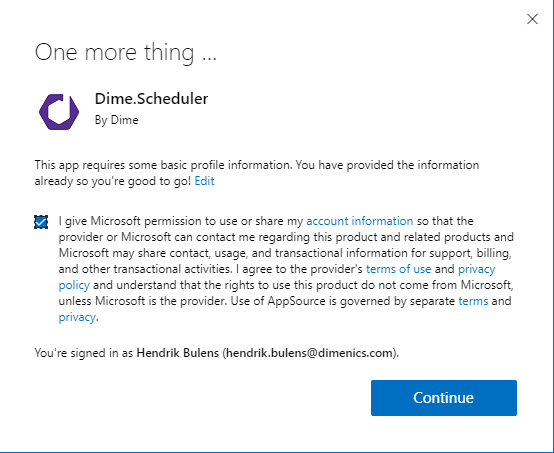
To deploy the connector, click the 'Get it now' button. A modal window will appear. Tick the checkbox and continue.
Now AppSource will take you to the available instances Microsoft Dynamics 365 Business Central. For example:
Select the right instance and AppSource will go ahead and deploy the connector, right after you've selected a language:
As the confirmation window explains, you can check the status of the deployment in the Extension management page:
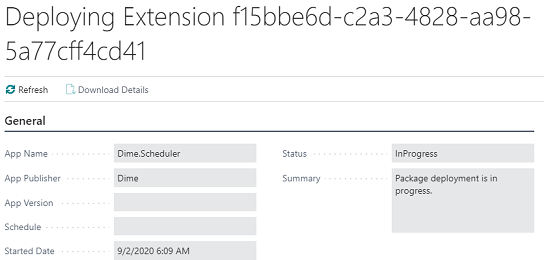
This step might take a minute or so. But after that, you're good to go!